If you are unable to print your RFID tags follow these few steps (2-3 minutes)
Step 1. Check the printers IP Address
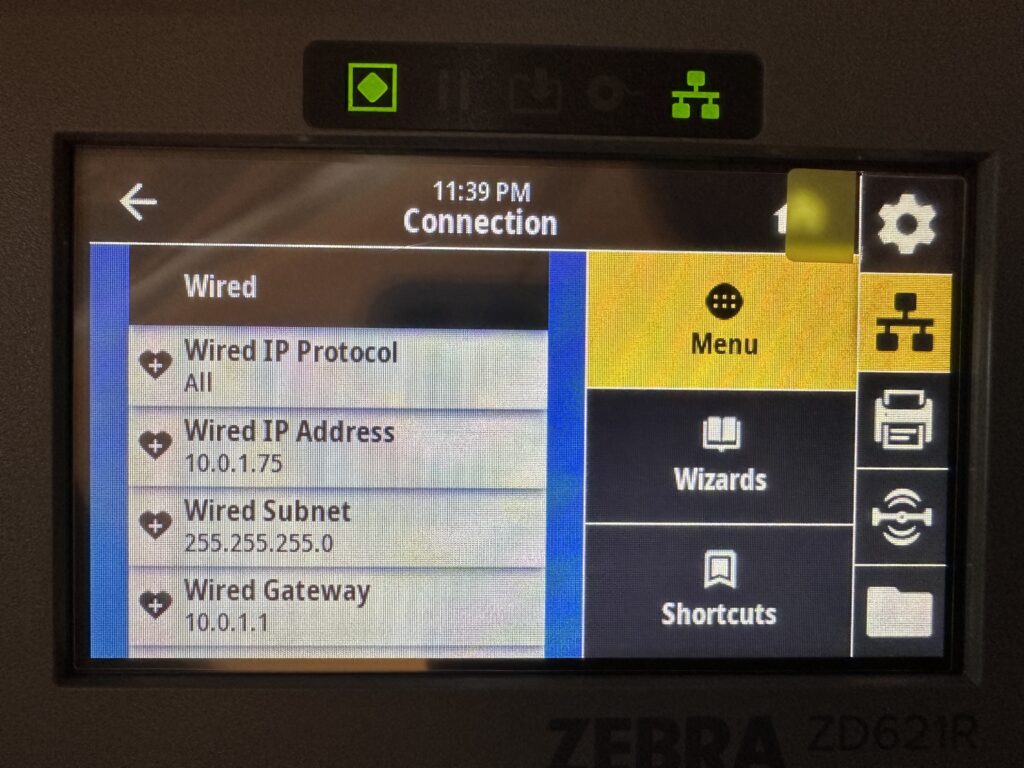
- On the printer’s screen, tap the Network Icon.
- Select Wired from the options.
- The Wired IP Address will be displayed on the screen.
Important:
Write down the IP address, as you’ll to verify it in a later step
Step 2. Check the Showroom Scanners IP Address
This is important as the showroom scanner (or wedge computer) is critical in routing the print to the printer and if its IP has changed you wont be able to reach it.
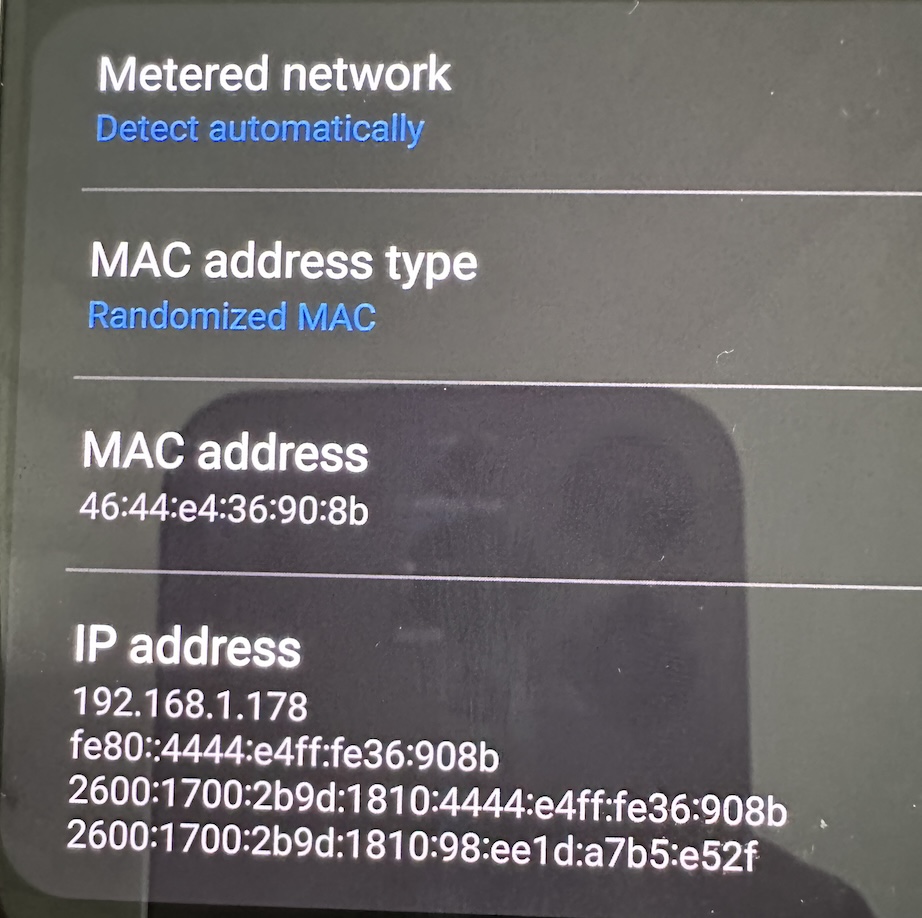
- Press the Home button (usually a white circle at the bottom of the screen)
- Swipe up or go to the App Drawer and locate Settings > Connections.
- If you use wired internet click Ethernet to check its settings
- If you use WiFi click WiFi then click The network name to pull its settings
- You should see an IP Address somewhere on the display, write that down.
Important:
Write down the Showroom Scanners IP address, as you’ll to verify it in a later step. Remember to re-launch the EyeSoft app on the wedge computer once you have the IP address
Step 3. Update the EyeSoft website settings
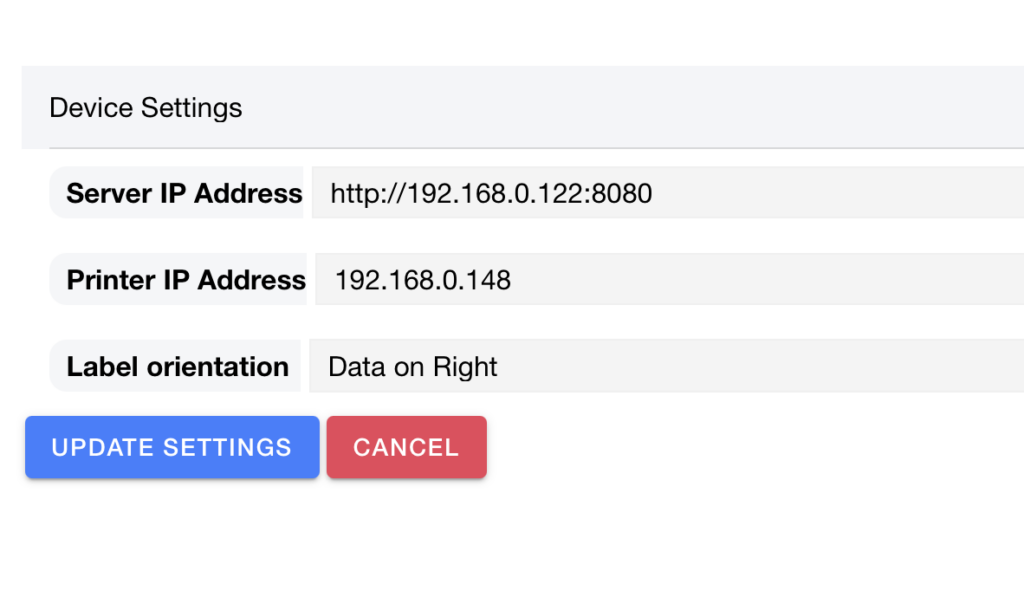
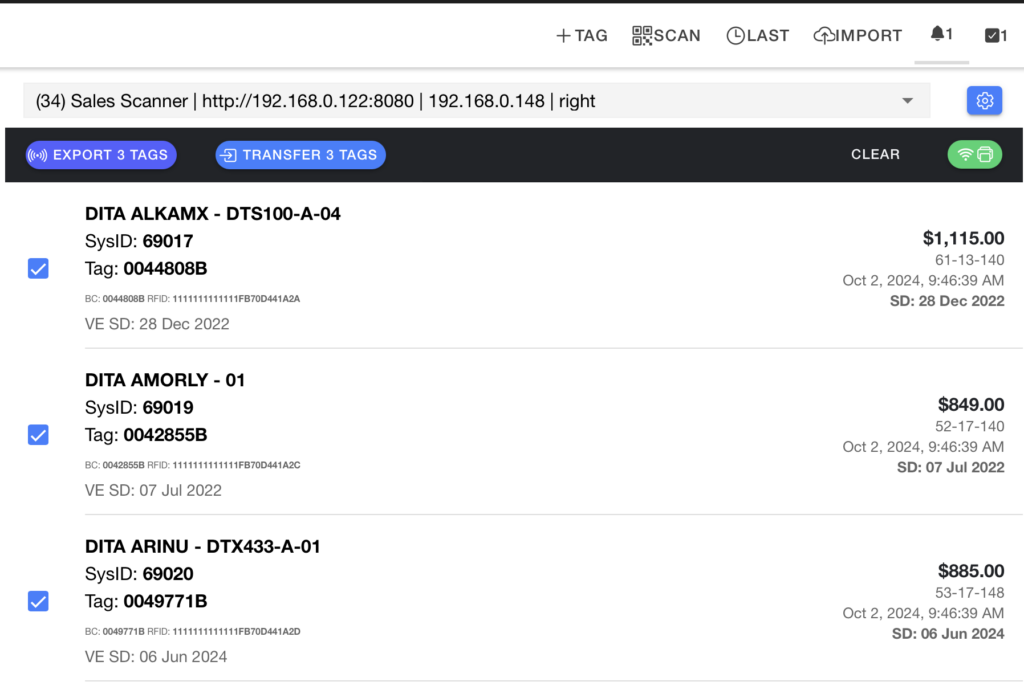
Once you have the two IP addresses open up the EyeSoft Quick Labels module, and click the Blue gear icon on the top right next to your target printer
In the new popup window type in the IP address from the printer as the Printer IP Address and then type in the Showroom scanner/wedge computers IP address as the server
Important:
Remember to re-launch the EyeSoft app on the wedge computer
Make sure the server IP is written as “http://ipaddress:8080” without the http or the :8080 it will not work. use the picture below as reference.
From here click Update settings and try printing again. if you are still having issues contact our support team.